Night photography is one of the most rewarding types of photography out there. The world is a different place at night. This can be both a blessing and a curse for night photographers; many of the usual rules will need to be thrown out of the window, and you’ll need special tools and techniques to make your subjects shine under the cover of darkness.
The good news is that well-done night photos are some of the most beautiful that you’ll ever take. They’re worth the effort of learning new technologies and strategies. If you’re ready to make your sunsets pop, consider this a general guide to night photography.
5 Most Useful Tips for Night Photography
1. Experiment With Apertures

Apertures are the settings on your camera that determine how much light is let into your shutter. You may have seen them referenced as “f-stops” or “f-numbers” because they’re measured in units like f/2, f/4 and f/8. In a strange twist of events, large apertures have lower numbers, so f/2 is a bigger aperture than f/22. You’ll need to experiment with different f-stops to find the ones that best suit your night photography. Generally speaking, larger apertures are better for darker subjects, but your personal sweet spot might be anywhere between f/2 and f/16.
2. Play With Your MLU

Available in most digital cameras, the mirror lock-up (MLU) feature helps you reduce the amount of “motion blur” in your photos. It’s useful for still subjects in portraits and landscapes, but it can be a hindrance when the illusion of movement is part of your desired shot. It also takes on a whole different meaning at night. Do you want the cars on the highway to be blurry streaks of gold? Then leave your mirror unlocked. Are you trying to capture every tiny sizzle of a Fourth of July sparkler? Then use your MLU. Again, experimentation is the only way to figure out your own style, so don’t be afraid to fiddle with your camera settings.
3. Scout Your Locations in Advance
Location is one of the cornerstones of good photography, and this is especially true at night. You never know when a setting sun will change the shadows across the mountain or when a street lamp will automatically come on and mess with the colors of your subject. For this reason, many night photographers spend multiple evenings securing the perfect shot, and they take lots of notes about times, angles, shadows, inclines and shutter speeds. You might find that having your own notepad comes in handy when planning and prepping for night photography adventures.
4. Research Your Favorite Effects

Night photographers use a variety of tricks to get their gorgeous pictures, so if you’re a fan of any particular technique or skill, do your homework about how it’s done. For example, if your favorite nighttime photo turns a street lamp into a starburst, you can achieve the same effect by using a narrow aperture like f/16. If you love the sharpness of the individual raindrops in an evening lightning photo, you can bring that clarity into your own camera by playing around with timers and shutter speeds. There’s usually a method to every photographer’s madness; the trick is in finding it.
5. Save Everything

To completely counter everything you’ve just read, sometimes amazing photographs happen by accident. No matter how much time you spend calculating sunset and longitude, your most dynamic shot can be the result of an accidental click or an off-angle lens when you’re trying to shoot something else. This is why it’s so important to save all of your photos, even the ones that look like nothing but a blob of darkness. It might turn out to be an incredible shot once you apply a few filters with your photo editing software.
Top 5 Tools for Night Photography
You’ll need the right tools for high-quality pictures of any kind, but it’s especially important to have the good stuff when you’re learning the business of night photography. Here are just a few things to keep in mind during your next shopping trip.
Equipment
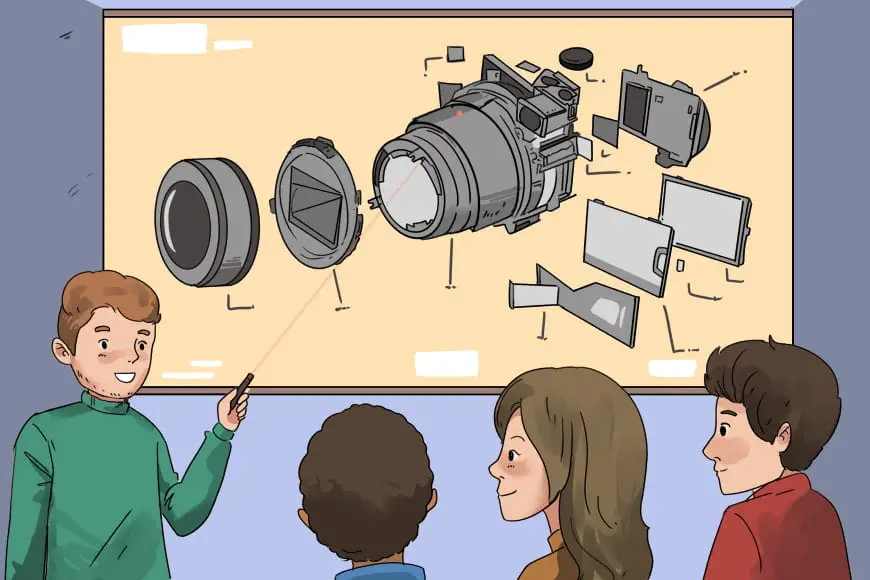
1. Camera
There are three things to consider when purchasing a camera for night photography: aperture, shutter speed and ISO. This trifecta will determine the amount and the sensitivity of the light that makes it into your camera lens. Fortunately, there are several camera models on the market that cater specifically to low-light situations, so you can just choose a popular one if you’re a beginner without a lot of technical knowledge.
2. Tripod
Even if you aren’t a regular tripod user, they can be necessary for certain kinds of night photos. This is because your shutter speed will be lower when there’s less light in the atmosphere, and slower shutter speeds mean more chances for your shaky human hands to mess up the shot. A tripod can give steadiness to your shots and crystal-clear sharpness to your photos.
Software
3. Adobe Photoshop Lightroom
If you’re looking for something a little more specialized than regular old Photoshop, consider Adobe Photoshop Lightroom. It’s made for editing, enhancing and re-touching photos, and it comes with plenty of perks like digital image libraries and “tethered capture support” for specific camera brands.
4. StarStaX
If you love taking photos of the night sky, StarStaX can help you create wonderful renditions of stars, planets, and galaxies. It’s a multi-platform image stacker that will allow you to blend and merge multiple photos for detailed images of starry constellations.
5. LR Timelapse
Timelapse photos are a favorite among night photographers, and this is the software that you’ll need to join the bandwagon. It requires synchronization with something like Adobe Lightroom or Adobe After Effects, but if you enjoy timelapse photos of moons, shadows and nighttime traffic, this is the program for you.
These are just a few suggestions for better night photography. Whether you’re a complete beginner or an experienced shutterbug looking to build new skills, this guide should help you take your photos to the next level. Sound off in the comments with your own tips, tricks, and techniques for night photography!