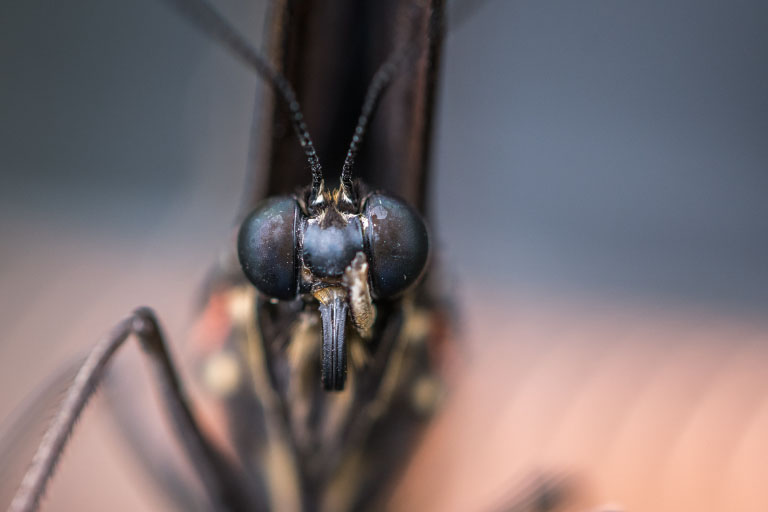
Macro photography – the field of producing photographs of small things at larger than life size – has produced some of the most amazing images we’ve ever seen. From tiny changes in color on insects to the magnified radiance of gems, there’s no end to the incredible pictures you can take. However, there are a few things you can do to make better images, and we’d like to share those with you today.
The 10 Macro Photography Tips to Keep in Mind
#1: Pick The Right Lens For The Job
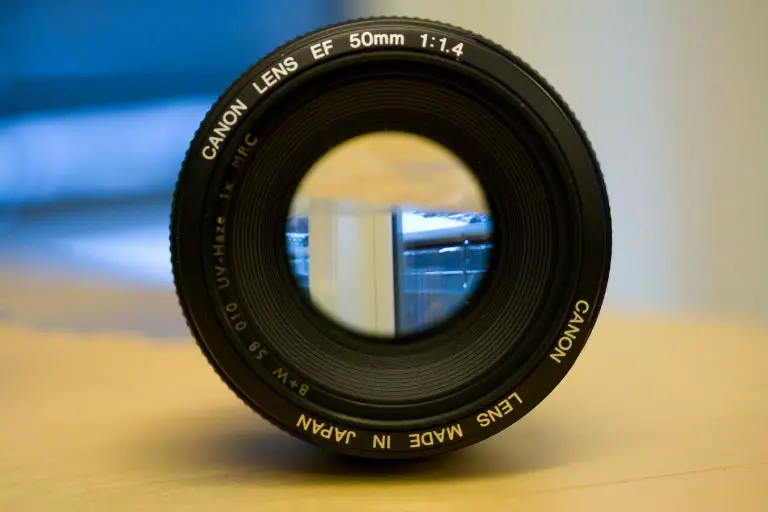
Many amateur photographers still don’t know the right lens size to get.
- 50-60mm
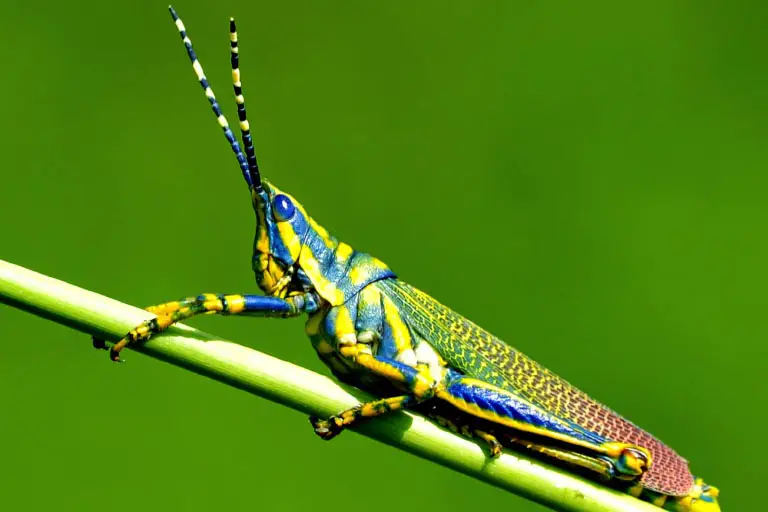
lenses are suitable for general macro photography of still or slow-moving subjects, such as rocks or slow insects. For the best final image, you’ll need to get up close and personal with your target.
- 100mm
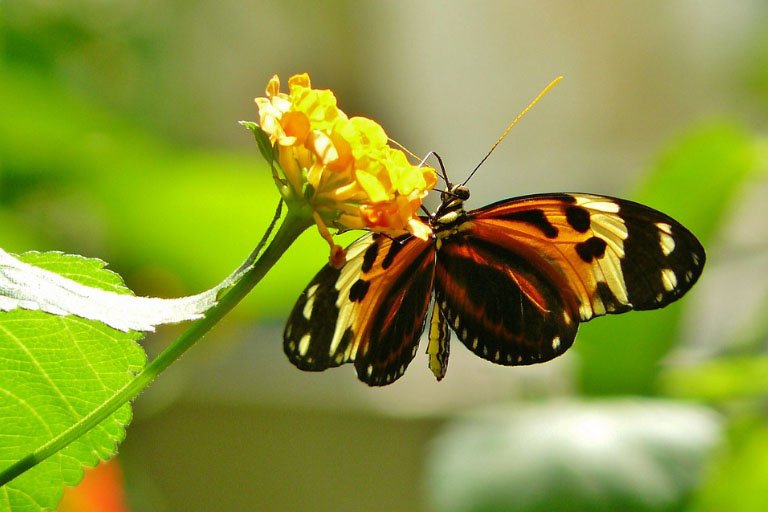
lenses are more suitable for moving subjects, like fish and some butterflies. The added range matters – many living subjects will flee when humans approach, and being able to snap macro photographs from a distance can make all the difference.
- 150-200mm
lenses are easily the most expensive, but you can expect extra power and clarity for taking pictures of high-speed subjects.
#2: Take More Pictures
Do you know how the best photographers take so many great shots? They shoot more photographs and throw out all the ones that aren’t good enough. For every picture that’s acceptable, a professional might take thirty or more that they get rid of, and that’s after years of experience for knowing when to shoot.
Seriously – don’t spend all of your time trying to line up the perfect angle and background. Instead, focus on scenes as a whole and start snapping more pictures. Be sure to carry a few extra memory cards (or their equivalent, based on the type of camera you’re using).
#3: Take More Control Of Your Depth Of Field
Should the background be sharp or blurry? That’s an important question – and as always in photography, the answer depends on the type of image you’re going for. Apertures give you the ability to adjust the depth of field and choose whether the main focus of your picture is the only thing drawing the eye.
As a good rule of thumb, anything particularly colorful or complicated should be the only sharp object in the picture. If the image only has a few colors and everything in it is similar, it’s okay to have the entire image be sharp.
For most macro photography, use an aperture setting between f/5.6 and f/11. This tends to produce the best results, though you should practice with different settings until you fully understand the differences. Lower settings (such as f/2.8) are rarely useful for macro photography, but higher settings (such as f/19) are occasionally worth using.
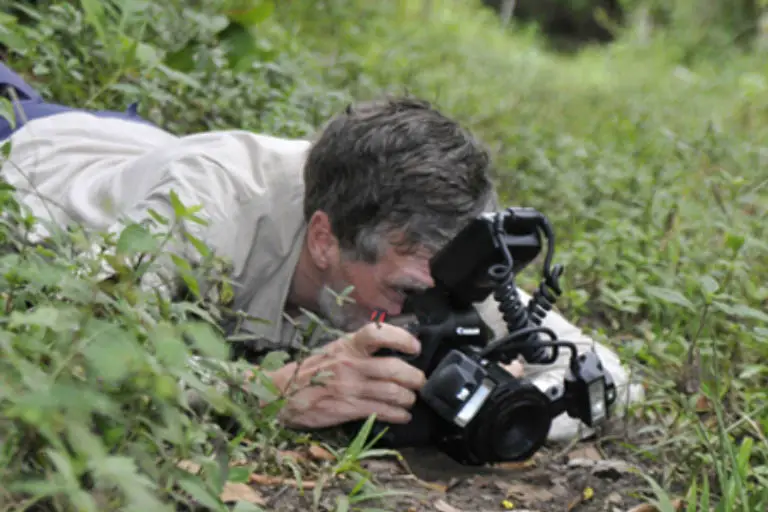
#4: Pick Your Subjects
While there’s something to be said for being inspired and taking photographs of whatever you see, it helps to try and choose your subjects ahead of time. There’s a simple reason for this: If you know what you’re planning to take pictures of, you can make sure you have the right gear.
From here, it all depends on what you want to capture. Some people recommend just walking outside and taking macro photographs of whatever you see.
If you haven’t taken very many photos of this type, we suggest starting with plants or buildings. These are easy to find and can produce startling images from up close. Being so available is the real value, though – you can practice on them, getting faster and faster at taking the pictures until you’re ready to work with something moving.
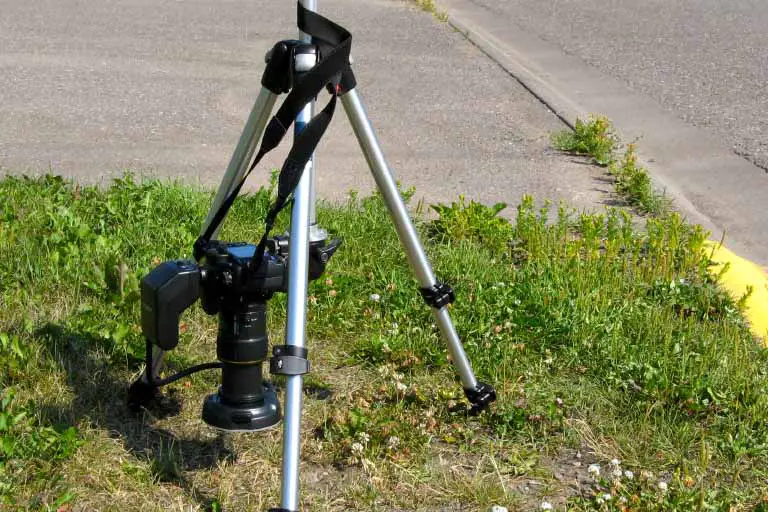
#5: Get Used To Using A Tripod
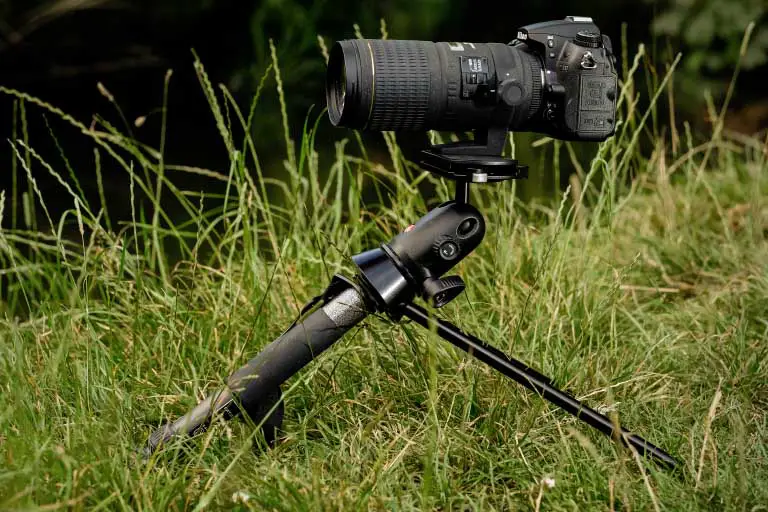
We know, everyone wants to raise their camera and take great pictures. Tripods are a better choice for macro photography, though, and here’s why.
When you narrow your field of view to a tiny fraction of what you can typically see, the slightest twitch can send your camera wildly off course. Something as simple as pressing the shutter could end up ruining your image as your hands move up and down.
The simple solution to this is a fixed, stable base for your camera – and perhaps a remote control for taking the pictures. This loses a bit of the spontaneity, but in the end, it will be worth it.
The alternative is to spend a lot of time practicing… and taking even more pictures than most macro photographers. That’s not necessarily bad, and it won’t stop you if you’re determined, but it’s something to be aware of.
#6: Learn To Capture Stories
In photography, a ‘story’ image is one that conveys something happening. This could be birth, death, movement, eating, or anything else that’s occurring. The central point is that something we recognize is doing on.
This is a distinct difference from photographs of people and locations, which are meant to capture a piece of time. “We were there” isn’t a story. The more you take photos, the easier this will become. Most photographers focus on interesting events that they see, and when you are, there’s a story to tell.
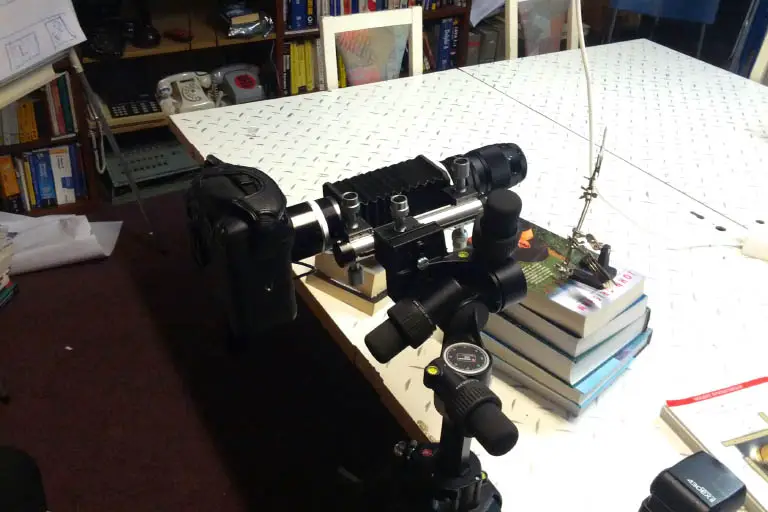
#7: Create The Environment For Your Pictures
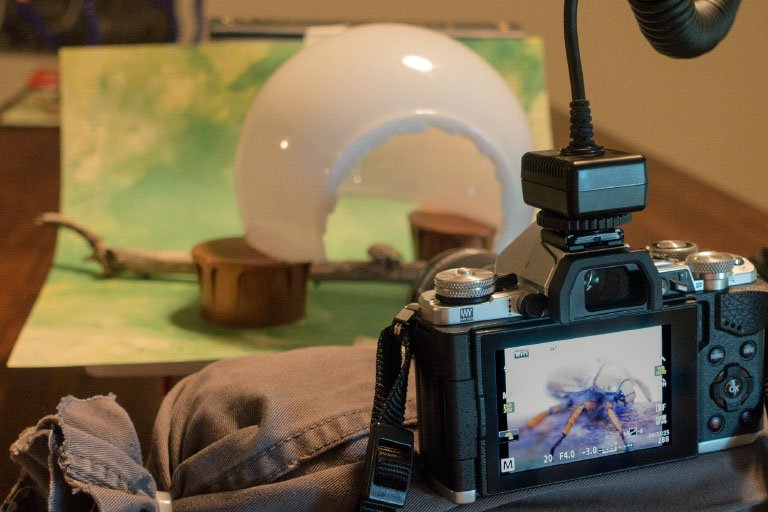
Perfect, unspoiled nature is wonderful – but it doesn’t always make for the best pictures. A “third hand” is a device that can hold a subject you want to photograph, usually through the use of clamps. This allows you to raise, lower, and angle the item and choose a better background for it.
Some photographers prefer to avoid disturbing their subjects any more than necessary, and that’s fine. If you don’t want to change your environment, spend more time visiting different places – especially those people don’t visit for pictures very often. For example, you may find inspiration in a local museum or store.
Just be sure to get permission before you take pictures or use your flash.
As a secondary consideration, try taking macro photographs at unusual times. For example, you can get some compelling images just after it rains – the lingering droplets will act as a tiny lens and magnify whatever they’re sitting on. This can lead to photos you’d never be able to take otherwise.
#8: Manage Your Compositions
Patterns make for fascinating photographs – and nature has a seemingly endless supply of them. However, there are a few tricks to getting pattern photographs down right.
The first form involves filling the entire field of view with the pattern. Most photographs of this type have no blurred areas (although it is possible to make them). These pictures are easier to take, so we highly recommend them for beginners.
The second type of pattern composition includes a border around the pattern. This should be as unobtrusive as possible – dark green and gray backgrounds tend to work well. These can be sharp, but you may need to blur them if they contain any interesting details in their own right.
(Believe it or not, this is a common problem. There are so many exciting things at the macro level that you’ll often find yourself with two or more subjects in a single image.)
#9: Limit Your Use Of Photo Editing Software
It’s okay to touch up or crop images when necessary, but it’s best to do as much composition as possible when you’re taking the picture.
If you do need to use editing software, try to limit it to the background. Alternatively, do use the software and duplicate the image, placing it on several different backgrounds. This can lead to some print-worthy collections.
In the end, software is what you make of it. The reason it’s best to minimize your use of it is that macro photography is exceptionally detail-oriented. Since most of these pictures have a vast, highly-detailed subject filling most of the space, things like added blur effects on a small area can be far more noticeable and out-of-place than usual.
#10: Get Better Lighting
Macro photography usually involves a lot of flashes. It’s much harder to get proper natural lighting when you’re trying to take pictures from a particular direction, and if you can’t rely on the world to do it, you’ll have to do it yourself.
It’s best to have a spare battery or two for your camera. Between the constant use of flash and frequent reference to LCD screens, chances are you’ll drain the battery faster than you ever expected. Packing a few spares can make the difference between a successful trip and a failure.
To be clear, we mean taking spare batteries. While charging cords and portable power packs exist, you don’t want to wait an hour or two for your camera to charge when you’re out taking pictures. A quick battery swap is faster, easier, and will ultimately let you take more (and better) pictures. Don’t let the supposed convenience of ‘rechargeable’ cameras seduce you. In the field, that’s not good enough.