Whether you enjoy photography as a hobby or want to become a professional photographer, portrait photography is something you will need to learn to master. You can take great portraits if you practice and follow a few simple tips. Here are some dos and don’ts to help you take great portraits.
Do: Play With Shot Composition
You can play with the composition of your shot and create an interesting effect regardless of the kind of photograph you are taking. A lot of photographers tend to use close-up shots and place their model at the center of the image without exploring other options when composing a portrait.
You can use shot composition to draw attention to your subject or some of their features.
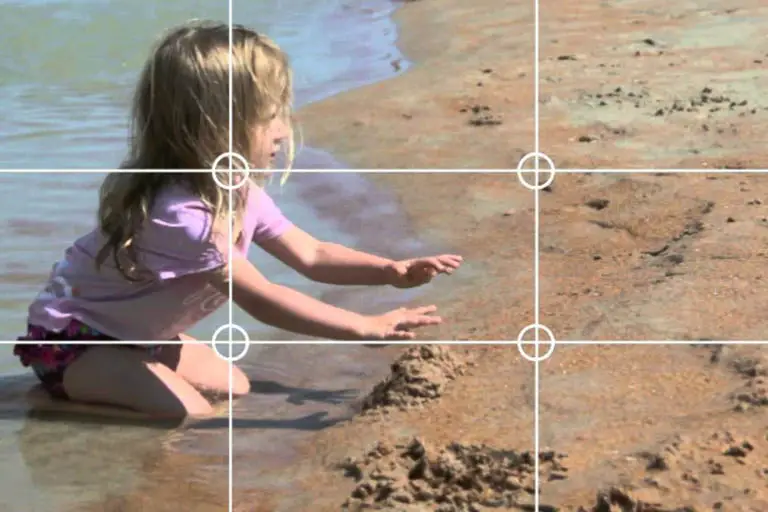
You should divide your shot into thirds. You should have three horizontal and three vertical sections. People will tend to look at the top and bottom thirds of your photograph. Place your focal point in these areas.
If you take a portrait and realize that the most interesting part of the shot into the top or bottom third of the frame, crop the image when you edit it. You can make a portrait more interesting to look at by cropping it so that a facial feature that stands out ends up in the top or bottom third of the image.
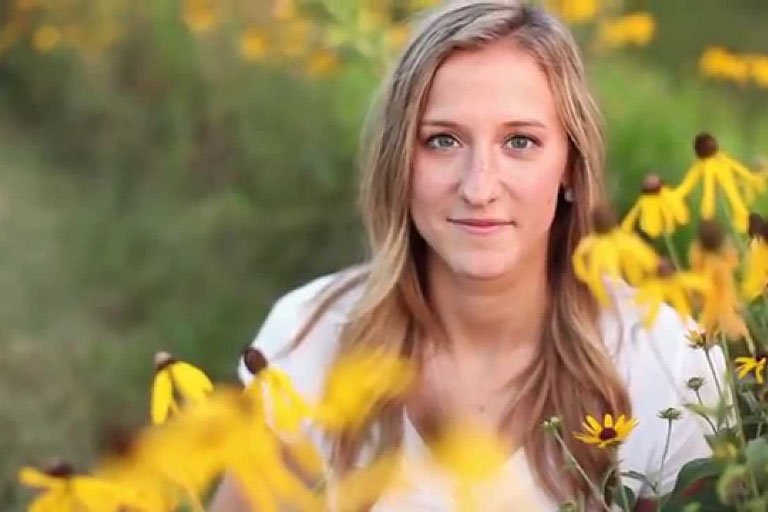
You should also try shooting with a wide angle lens. This will give you a wider background to work with when you compose your shot.
Your instinct might be to use close-ups to take portraits, but a wide angle lens gives you more to work with. You can place your focal point on your subject and use the background to frame your subject or create a mood or atmosphere.
Do: Frame Your Subject
You can incorporate some objects in your shot composition to create a natural frame for your subject. You can also use negative space for your subject.
Shoot a portrait against a dark background to use negative space to draw attention to your subject, or have your subject pose against a window frame to add a natural frame to your composition.
Models often use their hands to frame their faces. You have probably seen the popular ‘migraine pose’ on social media where people take a picture while supporting the side of their head with their hand.
This pose is flattering because models can use their fingers to lift their skin slightly and look younger and because the hand frames the face.
This is an example of the many poses you can have your subjects adopt. You can also use accessories or hair to frame your subject’s face.
Do: Play With Focus, Angles, And Movement

A lot of novice photographers have a very static approach to taking portraits. They will typically have their model pose and take a portrait without adjusting the focus or exploring different angles. Amateur photographers also tend to think that movement shouldn’t be used in portrait photography.
However, playing with focus, angles, and movement will make your portraits more dynamic. You can create an interesting portrait by choosing a large aperture. This will result in a narrow depth of field, and you can then place the focal point in an unexpected place.
You can place your focal point directly in front of your subject or even behind them to create a dreamy and poetic effect. You can express a lot by working with the aperture and focal point of a portrait.
Play with angles to make your portraits more dynamic and expressive. You can tilt your camera to look up or down at your subject. You can rotate your camera for a fun and dynamic effect. Combine these effects with unusual poses and expressions to create unique portraits.
You can introduce movement in your portrait by adjusting the shutter speed. You can have your subject move or ask them to stand still while you capture movement around them.
These are some things you will need to experiment with. Working with focus, angles, and movement all at once might be overwhelming. Pick one thing you want to explore and take a series of original portraits while exploring different ways to place your focal point in your shot before moving on to exploring angles and movement.
Don’t: Not Talk To Your Subject
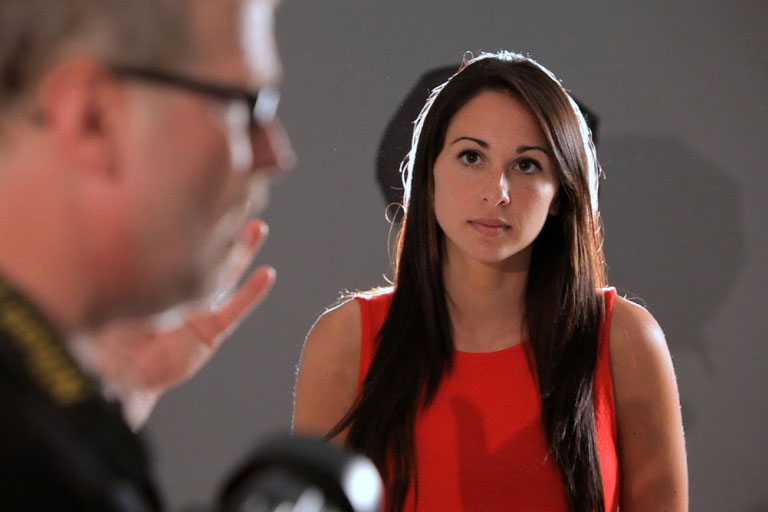
As a photographer, you need to learn how to make your subjects feel comfortable. There is no need to talk through an entire photo-shoot or to share every technical detail for your subject, but you should have a brief conversation before you start taking pictures.
Your model should be able to relax and be themselves. They should feel comfortable about trying different poses and expressions.
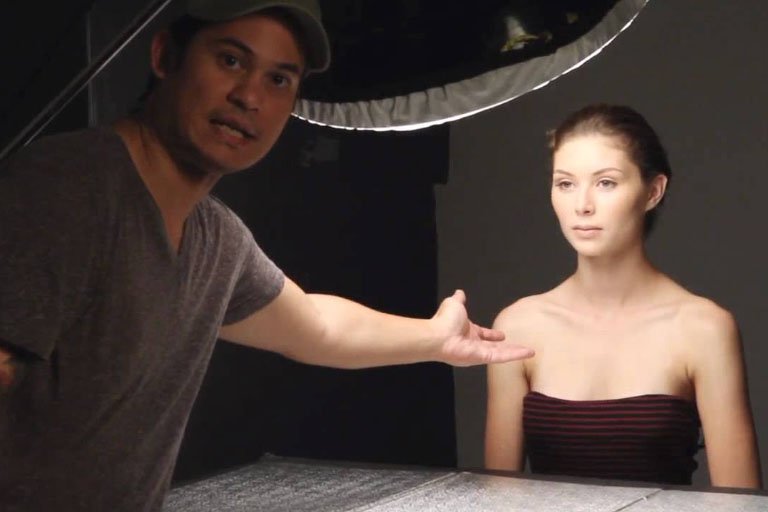
Talk about what you want to accomplish with the photo-shoot. Get to know your model better so you can take portraits that showcase their personality. If someone hired you to take portraits of them, ask a few questions to better understand what they expect from you and what kind of photographs they want.
Don’t hesitate to make suggestions throughout the photo-shoot or give them feedback. Explain what you are doing without getting too technical and make sure they feel comfortable communicating with you as well.
Talking to your model and getting to know them better will help you capture some genuine expressions and take portraits that reflect the unique personality of your subject.
Some models will feel more comfortable if you talk before the photo-shoot and give them feedback at the end while others will prefer that you keep communicating with them throughout the entire photo-shoot. If your subject doesn’t have a lot of modeling experience, it might be best to keep talking to them throughout the entire process.
Don’t: Rely Exclusively On Autofocus

Autofocus can come in handy in many situations. It’s a feature that identifies the distance between your camera and your subject and automatically adjusts your focus.
Using autofocus allows you to save time and to focus on making other adjustments. However, there are several advantages to using manual focus when taking portraits.
Manually adjusting the focus allows you to capture sharper details. You can determine how people will look at the portrait by placing the focal point behind your subject, in front of them, or by using focus to draw attention to a specific facial feature of the subject.
Autofocus is a convenient feature, but it doesn’t give you enough precision for portraits. The autofocus feature will typically place the entire face of your subject in focus.
With manual focus, you can make sure that the eyes of your subject are in perfect focus and make more precise adjustments. Manual focus is also a better option if you want to add movement to your portrait.
Don’t: Use Natural Lighting
Lighting is a tricky thing to master in photography. Lighting is very important in portraits because it determines the level of details you can capture and influences the mood of the portrait.
You might be tempted to take overexposed shots during a portrait photo-shoot. You might feel that overexposed shot look more artistic and help draw attention to the best features of your subject.
However, overexposure erases details and significantly reduces sharpness. Your background might look dull, and you will lose color contrast.
It is best to take underexposed shots and edit them later to add light effects. You can create an overexposed effect when editing your portraits without losing any of the details, sharpness, and color contrast. You can limit the overexposed effect to a portion of your image and retain the sharpness and colors of the underexposed shots in other areas.
If you are using natural light for your portraits, keep in mind that natural light can be too harsh or dull depending on the weather. Cloudy skies can create a gloomy effect for your portraits.
Unless natural light matches the tone you are looking for; studio lighting will be best. You can also find a shaded area for softer natural light, or ask your subject to block the sun.
You should also think about getting a reflector. This is a very affordable accessory that can be used to adjust natural lighting and create the effect you want.
Here are a few examples of how you can manipulate natural lighting with a reflector:
- Block harsh sunlight.
- Use a reflector with a black side to make shadows stand out in your composition.
- Reflect light to fill shadows and create a softer effect.
- Bounce natural sunlight and use it as your main source of light.
You should add a reflector to your collection of accessories, but you can also find reflectors in your environment. A large white building is a perfect natural reflector if you are looking for something that is softer than sunlight.
These are a few dos and don’ts of portrait photography. Keep these tips in mind the next time you plan a photo-shoot. Take the time to familiarize yourself with your camera and with its different features and to experiment with some of the things discussed above to find your style.