When you look at landscape photography on Flicker, 500px, and Instagram, you might think: “All I need is a good camera, and then I can capture those images, too.”
Owning the right camera and being in the right place at the right time is just the start of landscape photography. Taking the photos that you envision in your head also means understanding your camera settings, honing your creative vision, and much more.
We can’t transform you into the best landscape photographer you can be in a single article. Only tens of thousands of photos worth of practice can do that. We can give you the tools you need to make the most of your camera and some of the other variables you need to master to get the perfect shot.
Let’s Start with the Gear

We just said that gear isn’t everything but working without it will handicap you.
In addition to a camera you become familiar with, you should also consider:
- Tripod
- Filters
- Remote shutter
- SSD card
- Camera bag
Tripod
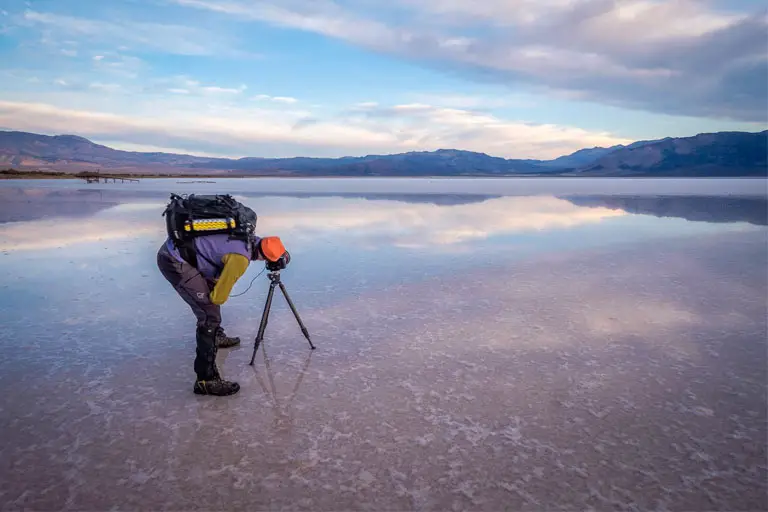
In addition to a camera, landscape photographers benefit significantly from the use of a great tripod. Your shutter speeds are slower in landscape shots, and your tripod makes up for the slow speeds by keeping everything stable and sharp.
We also recommend tripods for those still working on their photography skills because it’s not only more forgiving, but it encourages you to play around with the settings.
Filters
Lens filters aren’t a must for landscape photography, but many budding photographers welcome the option and find they make their shots more versatile. Filers also take over if you either don’t like or are new to post-production.
Lens filters also offer a look that you can’t replicate in Lightroom or elsewhere, so having them on hand is your one chance to achieve that effect.
Remote Shutter
If you’re shooting moving landscapes, like beaches, you’ll also benefit from a remote shutter. These allow you to be incredibly precise without inadvertently shaking the camera.
Finally, you’ll want a good SSD card for shooting RAW images. RAW images take up more space than JPEGs, and you’ll thank us later for the extra storage space. Don’t forget a rain cover for rainy days.
Set Up and Adjusting Your Camera’s Settings

Camera settings vary, but the essentials remain the same. By essentials, we mean shutter speed, exposure mode, ISO, aperture, and image format. Focusing on these essentials make landscape reasonably simple.
Start with Aperture (and Try Out Manual)
To shoot landscape photography, you can leave your exposure settings on A or Av (Aperture Priority) and get an excellent picture. However, one of the benefits of landscape photography is that you have more time to play around. If you feel confident enough to try out Manual exposure mode, do it here.
Our best tip is to play around with Manual mode and see what happens. You will get frustrated, but if you stick with it, manual mode will become a way of life. But don’t neglect Aperture Priority complete because it allows you to remain in control of the depth of field without too much concern for the shutter because the camera sets it for you.
Keep in mind that the Aperture settings need to accommodate the large depth of field inherent landscape photography. Not sure where to start? Set it to f/13 or f/16. The f/22 setting also works here.
Shutter Speed
Landscape shots are generally hand-held, which means your shutter speed should meet the reciprocal of the focal length. You can slow it down in some cases like if your image stabilizer is on. Generally, however, you should choose focal length or faster.
When you leave the setting on Aperture Priority mode, you risk a slower shutter speed anyway, particularly when you use a filter.
If the speed drops below 1/125, we recommend setting up your tripod and using the shutter remote. A slow speed increases the likelihood of camera shake and your tripod and remote help the image stabilizer handle it.
Use Filters to Compensate for Light
Filters limit the light through the lens, and they become your best friend in landscape photography. We recommend adding a polarizing or neutral-density filter when you’re working with slow shutter speeds.
Shoot RAW Always
Finally, shooting landscape photos is the perfect time to use RAW image files. You want RAW because it preserves more data, which gives you more room to play when you get back to your computer.
Set Up for Landscape Photography in Six Steps
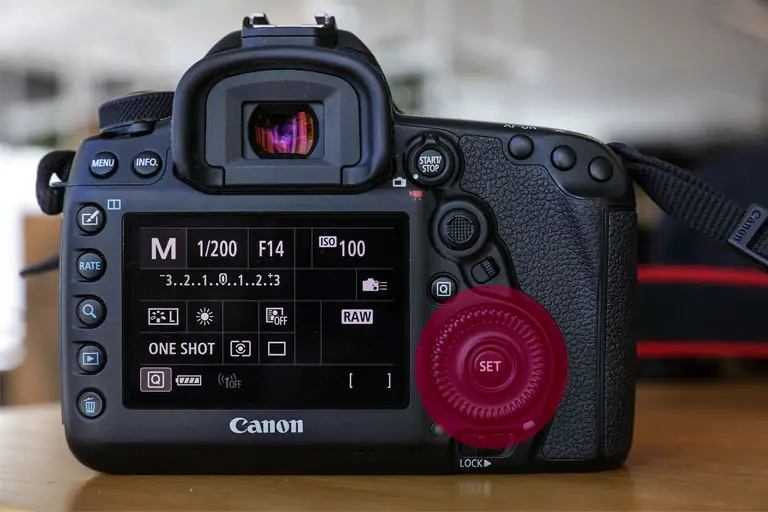
Even as a new photographer, you know this: there’s no simple setting recipe. If you want to take the best photo possible, you need to adjust your settings precisely to your environment.
Rather than giving you “the best settings,” we thought we’d help you add order the process to make it feel more manageable:
- Exposure mode
- Drive mode
- Aperture
- ISO
- Shutter speed
- White balance
You’ll adjust these usually according to the light.
Play with Style
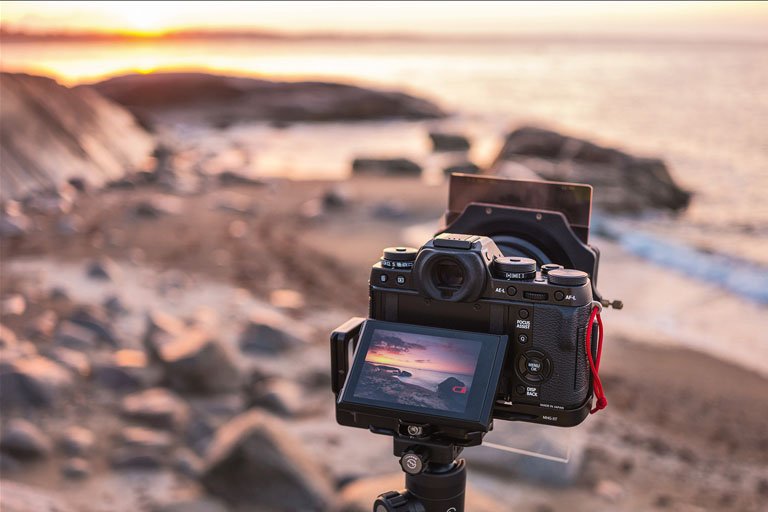
Landscape photography offers many opportunities to play around with settings and style without missing out on changing conditions. Let’s talk about some the foundations of style in photography that guarantee more compelling photos.
Rule of Thirds
The Rule of Thirds is an important style rule that any photograph can benefit from but adds extra focus for landscape photographers. When you follow the Rule of Thirds, you divide your frame by three horizontal and three vertical lines to create nine equal parts across the space. Your goal is to place the most important focus points on the line or at an intersection.
One tip for taking this basic rule further is to focus on what’s in the bottom third of the frame. If you don’t have a specific subject or point of interest and you want to capture the frame as a whole, use your manual focus to highlight the bottom third of the frame. It keeps photo sharp. You can then use this as a jumping off point for hyperfocal distance.
Golden Ratio
If the Rule of Thirds is a foundation-level trick, and if you’re ready for more, then the Golden Ratio helps advance your photography skills. The Golden Ratio is far more complicated because it skews the Rule of Thirds and leads the eye on a journey to a focus point in the upper right corner of the picture.
Photographers use the Golden Ratio because it’s a less obvious approach to photography than the Rule of Thirds, which features a basic but compelling layout.
Perspective
As you play with style, remember to adjust your compositional perspective. Perspective in photography is the sense of space between the objects in the photo in regards to each other and to your viewpoint.
We list it third here because perspective is something you alter once your composition reaches a point that already compels the viewer. It’s also a more advanced option because it requires a handheld shot rather than a tripod.
Still, playing with perspective is fun, and it’s a simple way to take a unique shot that challenges your creative vision.
Learn How to Plan
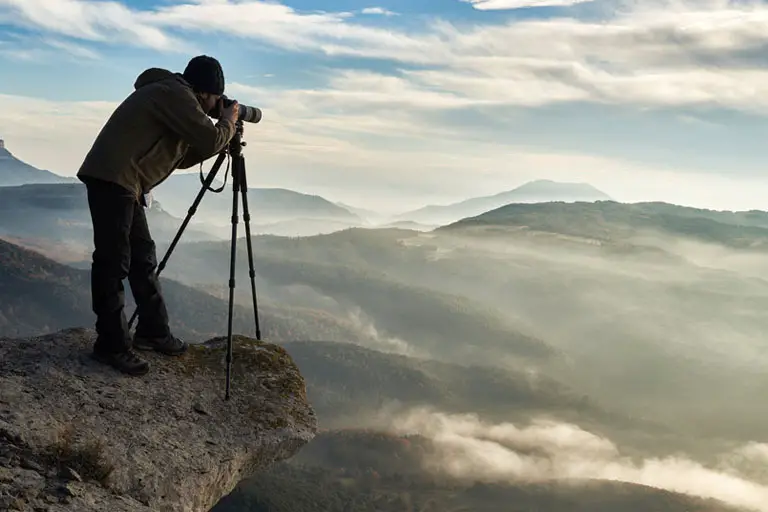
You can master your camera and composition techniques, but in photography, you need your environment to agree with you. You can’t change nature, but you can change how you encounter it.
Before heading out on an expedition, plan your trip.
You need to know:
- What time the sun rises or sets
- Where the sun will rise or fall
- What the weather is like
- What are the conditions under-foot
All these conditions change what you need to know about your camera and drive the direction and quality of your photo.
If you’re terrible at geography, try The Photographer’s Ephemeris. It’s a useful mobile app that gets rid of topographic maps and compiles everything into a web app that’s easy to read even if you don’t know north from south.
Remember, an overcast day may not make for a great beach day, but it does give you a full day of shooting by keeping consistent conditions. Don’t neglect these days because you won’t get a golden or blue hour of them. Enjoy each landscape in any state to get to know it more intimately.
Spend Time on Your Creative Vision
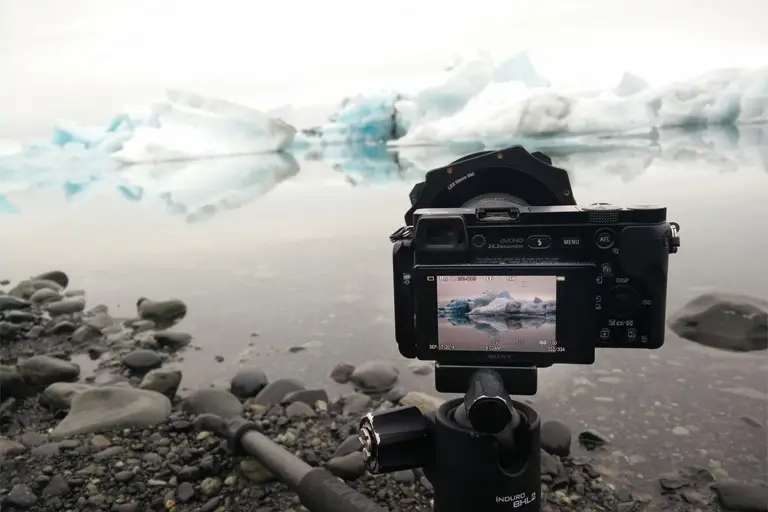
Just as a good camera on its own won’t produce the photos you envision, neither will technical skill alone.
Creative vision is a massive part of landscape photography, and it is what sets apart photographers like Ansel Adams from the rest of us.
So, give as many hours to developing your vision as you do to playing with your settings or working in Lightroom.
Vision doesn’t come at a cost. It is part preparation and part serendipity; open yourself up to the possibilities and then study them carefully and intimately.
Practice Makes Perfect
Your least favorite photos will be the first 10,000 you take, so don’t give up. Even the most legendary landscape photographers took pictures that they didn’t feel were worth the film captured on.
Our brief guide to landscape photography is enough to help you confidently take your first few pictures. Only practice and continuing your education will help you achieve your goals.
Do you have any tips for budding landscape photographers? Share them in the comments below.
Share:
